



Convert JPG Images to VP3 Embroidery Files Easily
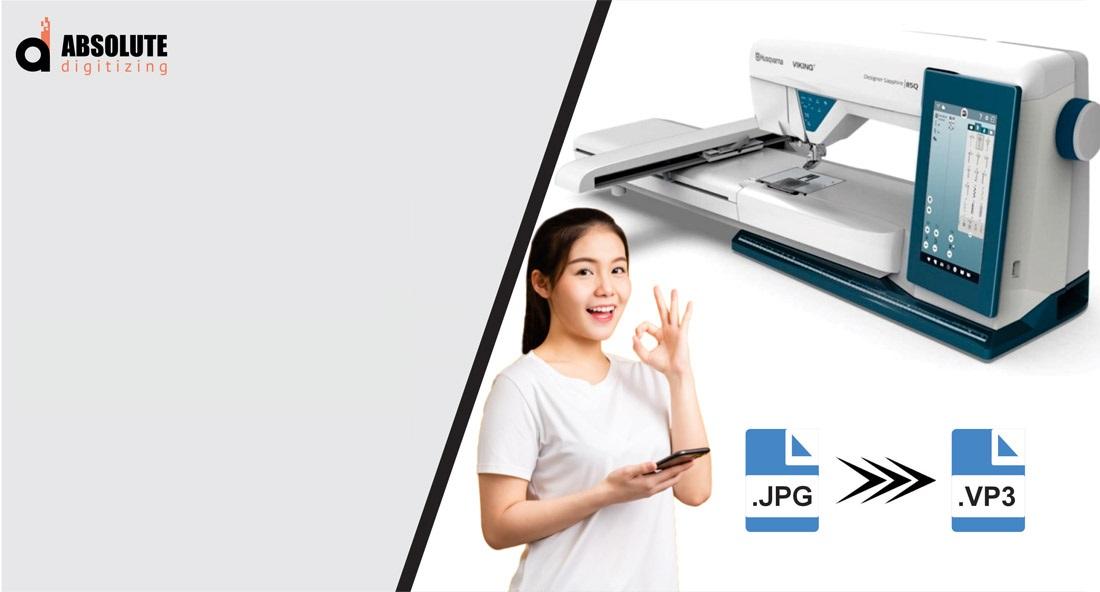
Have you ever found the perfect logo or artwork as a JPG, only to discover that your embroidery machine cannot use it? You are not alone. JPG images are great for viewing and printing, but an embroidery machine needs stitch instructions to recreate the artwork with thread.
To convert JPG images to VP3 embroidery files, you need more than simply changing the file extension. The JPG must first be converted into a stitch-based embroidery design and then saved in the VP3 format.
In this guide, we will walk through the process, explain what VP3 files are, discuss common mistakes, and share practical tips for getting a clean embroidery result.
What Is a VP3 Embroidery File?
VP3 is a digital embroidery file format used by compatible embroidery machines and software.
Unlike a JPG, which is made from pixels, a VP3 file contains embroidery instructions. These instructions help the machine understand details such as stitch placement, stitch order, thread colors, and design dimensions.
This makes VP3 suitable for machine embroidery workflows where the equipment supports the format.
JPG vs. VP3: What's the Difference?
Understanding the difference between these two file types makes the conversion process much easier.
JPG Image
A JPG is a raster image made from pixels. It can contain photographs, logos, illustrations, and other artwork.
A JPG tells a computer what an image looks like, but it does not tell an embroidery machine how to stitch it.
VP3 Embroidery File
A VP3 file contains stitch information that an embroidery machine can interpret.
It tells the machine things such as:
- Where stitches should be placed
- Which direction stitches should follow
- When thread colors should change
- How different areas should be filled
- Where stitching should begin and end
In simple terms, the JPG is the picture, while the VP3 is the stitching plan.
Can You Convert a JPG Directly to VP3?
Not in the same way you would convert one image format to another.
A JPG must first be digitized for embroidery. During digitizing, the artwork is analyzed and converted into appropriate stitch types.
The digitizer may need to determine:
- Object boundaries
- Stitch direction
- Stitch density
- Underlay
- Thread colors
- Satin stitches
- Fill stitches
- Running stitches
- Pull compensation
- Stitch sequence
Once the design has been properly digitized, it can be exported as a VP3 embroidery file.
How to Convert JPG Images to VP3 Embroidery Files
The exact process can vary depending on your embroidery software, but the basic workflow is similar.
Step 1: Choose a Suitable JPG
Start with the clearest artwork possible.
A high-resolution image with clean edges is much easier to digitize than a blurry or heavily compressed JPG.
For logos and graphics, simple artwork with clearly defined shapes usually produces better embroidery results.
Step 2: Clean Up the Artwork
Before digitizing, remove unnecessary details from the image.
You may need to:
- Remove the background
- Clean rough edges
- Fix broken lines
- Simplify tiny details
- Separate color areas
- Improve contrast
Remember that embroidery thread cannot reproduce every tiny detail found in a digital image.
Step 3: Import the JPG Into Embroidery Software
Open compatible embroidery digitizing software and import your JPG as a reference image.
The software uses the image as a visual guide while the embroidery design is created.
Some software may automatically recognize shapes, but automatic conversion should be reviewed carefully.
Step 4: Create Embroidery Objects
Convert the artwork into embroidery objects.
Different parts of the design may require different stitch types.
For example:
- Large areas often use fill stitches.
- Narrow borders may use satin stitches.
- Fine outlines may use running stitches.
- Small details may need simplified shapes.
Choosing the right stitch type is an important part of professional embroidery digitizing.
Step 5: Set Stitch Direction
Stitch direction affects both appearance and stability.
Instead of allowing every section to stitch in the same direction, the design should use stitch angles that follow the shape and create a visually balanced result.
Good stitch direction can also help reduce problems such as distortion and uneven coverage.
Step 6: Adjust Stitch Density
Stitch density controls how closely stitches are placed.
Too much density can cause:
- Thread buildup
- Puckering
- Needle stress
- Fabric damage
Too little density can result in poor coverage and visible gaps.
The correct density depends on the design, fabric, thread, stabilizer, and stitch type.
Step 7: Add Underlay
Underlay provides a foundation beneath the visible embroidery.
It can help stabilize the fabric and prepare the area for the top stitches.
The type and amount of underlay should be selected based on the shape, fabric, and embroidery application.
Step 8: Set Thread Colors
Assign appropriate thread colors to each design element.
If the JPG contains many similar colors, consider simplifying them. Thread has physical limitations, and dozens of tiny color differences may not translate well into embroidery.
Step 9: Check Design Size
Set the final width and height based on where the embroidery will be placed.
For example, a design intended for a cap will have different size requirements from a large jacket-back design.
Also make sure the design fits within your embroidery hoop.
Step 10: Export as VP3
After reviewing the design, select the appropriate export option in your embroidery software and save the machine-ready file as VP3.
The VP3 file can then be transferred to compatible embroidery equipment.
Always confirm that your particular machine supports VP3 before beginning the conversion.
Why Proper Digitizing Matters
A common mistake is assuming that software can automatically turn any JPG into a perfect embroidery file.
Automatic conversion can be useful for simple artwork, but it may produce unwanted results when the image contains complex details.
For example, a JPG may contain a thin line that looks clear on screen. When converted into stitches, that line may be too narrow to embroider reliably.
Proper digitizing takes these physical limitations into account.
Best JPG Images for VP3 Conversion
Not all images are equally easy to digitize.
Good Images
The best source images usually have:
- High resolution
- Clear edges
- Strong contrast
- Simple shapes
- Limited colors
- Minimal background detail
Difficult Images
These may require more preparation:
- Blurry photographs
- Low-resolution graphics
- Images with complex backgrounds
- Extremely small details
- Designs with many gradients
- Artwork with very thin lines
If your JPG is difficult to digitize, cleaning the artwork first can make the process much easier.
How to Prepare a JPG for Embroidery
Before converting your image, ask yourself whether each element really needs to appear in thread.
For example, imagine a detailed company logo containing a small slogan. The slogan may look excellent in a large digital image but become unreadable when embroidered at a small size.
You may need to simplify the lettering or remove tiny details.
A good embroidery design is not necessarily an exact copy of the original JPG. It is an adaptation designed to work well with thread and fabric.
Common Problems When Converting JPG to VP3
Poor Stitch Coverage
If a filled area has too few stitches, the fabric may show through.
Solution: Review stitch density and the selected fill settings.
Excessive Thread Buildup
Too many stitches in one area can make the embroidery stiff and bulky.
Solution: Reduce unnecessary density and review overlapping objects.
Small Details Disappear
Fine details may be too small to stitch.
Solution: Enlarge or simplify them for the intended embroidery size.
Jagged Edges
Poorly prepared artwork or unsuitable stitch settings can produce rough edges.
Solution: Clean the source artwork and adjust object shapes and stitch settings.
Puckering
Fabric can wrinkle around heavily embroidered areas.
Solution: Review stabilizer, hooping, density, underlay, and design settings.
Incorrect Color Changes
The digitized file may contain unnecessary thread changes.
Solution: Simplify similar colors and organize the design's thread sequence.
How to Get Better VP3 Embroidery Results
The conversion itself is only part of the job. The final result also depends on the embroidery setup.
Before stitching, check:
- Fabric: Is it suitable for the design?
- Stabilizer: Does it provide enough support?
- Needle: Is the needle appropriate for the fabric and thread?
- Thread: Is the thread suitable for machine embroidery?
- Hoop: Does the design fit properly?
- Design density: Are heavily stitched areas balanced?
- Test stitch: Has the design been tested before production?
These checks can save you from wasting garments and thread.
Should You Use Automatic JPG to VP3 Conversion?
Automatic conversion can be convenient when working with simple artwork.
However, automatic tools may not understand the physical requirements of embroidery. They may create too many stitches, poor sequencing, weak underlay, or unsuitable details.
For simple icons and basic shapes, automatic conversion may provide a useful starting point.
For logos, detailed artwork, small lettering, or commercial production, professional digitizing is usually the safer option.
Professional JPG to VP3 Conversion
If you need a clean, production-ready embroidery file, professional digitizing can be worth the investment.
A professional digitizer can adapt the artwork to the intended fabric, size, hoop, thread, and embroidery machine.
Absolute Digitizing can help transform JPG artwork into properly prepared embroidery designs while considering stitch structure, density, sequencing, and other important embroidery requirements.
This approach is especially useful when the design will be used repeatedly for uniforms, promotional products, apparel, patches, or business branding.
Tips Before Sending a VP3 File to Your Machine
Before transferring the finished design, use this quick checklist:
- Confirm your machine supports VP3.
- Check the design dimensions.
- Make sure it fits your hoop.
- Review the stitch count.
- Inspect thread colors.
- Look for unnecessary jumps and trims.
- Check small lettering.
- Preview the stitch sequence.
- Test the design on similar fabric.
Taking a few minutes to review the file can prevent much bigger problems later.
Final Thoughts
Learning how to convert JPG images to VP3 embroidery files starts with understanding that a JPG and an embroidery file serve completely different purposes.
A JPG is a visual image made from pixels. A VP3 file contains stitch instructions designed for compatible embroidery machines. To make the conversion successful, the artwork must be properly digitized, sized, and prepared for stitching.
For simple designs, software-assisted conversion may be enough. For detailed logos, small text, or commercial embroidery, professional digitizing can provide much more reliable results.
The goal is not simply to get a VP3 extension. The goal is to create a file that stitches cleanly and accurately on real fabric.
FAQs
1. Can I convert a JPG directly into a VP3 file?
A JPG cannot simply be renamed or directly changed into a proper VP3 embroidery file. The artwork needs to be digitized into stitches and then exported in the VP3 format.
2. What software can convert JPG to VP3?
Compatible embroidery digitizing software can import JPG artwork, create stitch objects, and export the finished design as VP3. The exact features depend on the software.
3. Can any JPG be converted to VP3?
Most JPG artwork can be used as a starting point, but some images require significant cleanup or simplification. Clear logos and simple graphics are generally easier to digitize than detailed photographs.
4. Does converting JPG to VP3 preserve the original image quality?
The goal is not to preserve pixel quality. Instead, the artwork is recreated as embroidery stitches. The final quality depends on how well the design is digitized for its intended size, fabric, and machine.
5. Why does my converted VP3 design look different when embroidered?
Embroidery is a physical process, so thread and fabric behave differently from pixels on a screen. Stitch density, underlay, fabric movement, thread type, needle choice, and digitizing quality can all affect the final result.

 English
 Arabic
 Czech
Czech
 French
 Spanish
 Deutsch
 Turkish
 Dutch
Dutch
 Italiano
 Russian
 Romaian
 Portuguese (Brazil)
 Greek
Greek